---
layout: null
---

<?xml version="1.0" encoding="UTF-8"?>
<urlset xmlns:xsi="http://www.w3.org/2001/XMLSchema-instance"
        xsi:schemaLocation="http://www.sitemaps.org/schemas/sitemap/0.9 http://www.sitemaps.org/schemas/sitemap/0.9/sitemap.xsd"
        xmlns="http://www.sitemaps.org/schemas/sitemap/0.9">
    {% for post in site.posts %}
    <url>
        <loc>{{ site.url }}{{ post.url }}</loc>
        {% if post.lastmod == null %}
        <lastmod>{{ post.date | date_to_xmlschema }}</lastmod>
        {% else %}
        <lastmod>{{ post.lastmod | date_to_xmlschema }}</lastmod>
        {% endif %}

        {% if post.sitemap.changefreq == null %}
        <changefreq>weekly</changefreq>
        {% else %}
        <changefreq>{{ post.sitemap.changefreq }}</changefreq>
        {% endif %}

        {% if post.sitemap.priority == null %}
        <priority>0.5</priority>
        {% else %}
        <priority>{{ post.sitemap.priority }}</priority>
        {% endif %}

    </url>
    {% endfor %}
</urlset>
User-agent: *
Allow: /

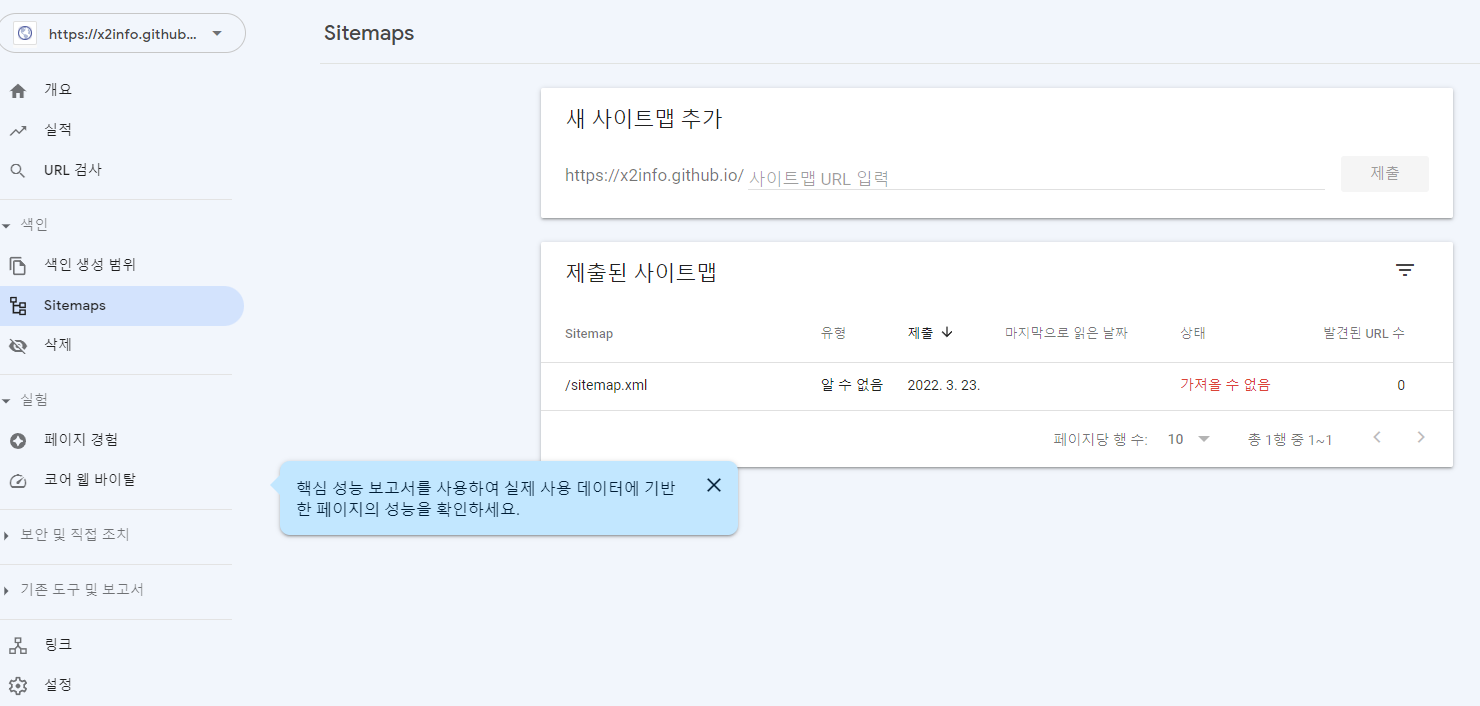
Sitemap: https://x2info.github.io/sitemap.xml


Leave a comment